Introduction
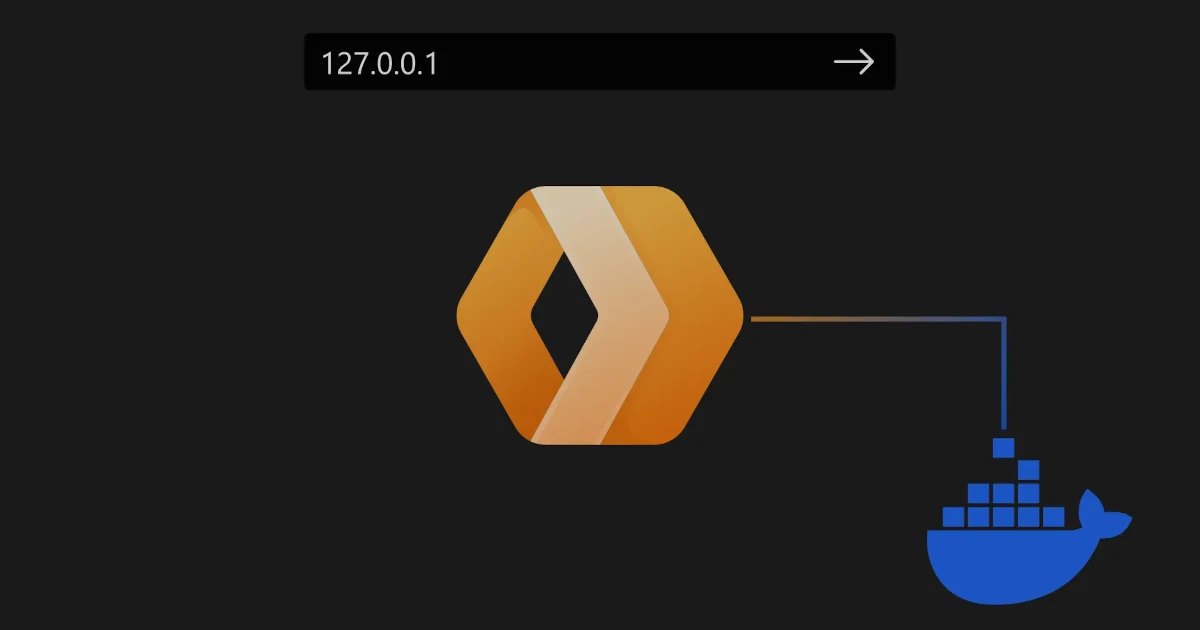
In this post, we’ll turn a simple Cloudflare Worker function into a running Docker container so you can test your functions locally on your own machine. This greatly improves efficiency testing and speeds up your development process.
Keep in mind, however, that running a Cloudflare Worker in a local Docker environment is not the same as running it in the cloud. It is intended for development and testing purposes only, and may not provide the same performance and scalability as running the Worker in the cloud on Cloudflare’s servers.
Let’s get started!

The setup
We’ll keep the same format from our previous AWS Lambda Local Docker tutorial for the sake of simplicity. Let’s say you have a folder that contains just two files for your Webworker function:
index.jspackage.json
$ ls -lash
 0 drwxr-xr-x  26 srvrlss  srvrlss   832B Aug 25 11:53 .
 8 -rw-r--r--   1 srvrlss  srvrlss   500K Aug 24 12:02 index.js
 8 -rw-r--r--   1 srvrlss  srvrlss   156B Aug 24 13:54 package.json
Contents of index.js:
const html = `<!DOCTYPE html>
<body>
  <h1>Hello World</h1>
  <p>This markup was generated by a Cloudflare Worker.</p>
</body>`;

async function handleRequest(request) {
  return new Response(html, {
    headers: {
      'content-type': 'text/html;charset=UTF-8',
    },
  });
}

addEventListener('fetch', event => {
  return event.respondWith(handleRequest(event.request));
});
Important!
You need to add the following to your package.json in order to make Wrangler run locally:
{
  "dependencies": {
    "wrangler": "^2.5.0"
  },
  "scripts": {
      "start": "wrangler dev index.js --local=true"
  }
}
Note the scripts part, and specifically the --local=true is important
Adding a dockerfile
The main caveat in the Dockerfile is WRANGLER_SEND_METRICS. If you don’t disable this the container will freeze during boot because it’s waiting for an answer to send metrics back to Cloudflare.
# Use the official Node.js 10 image.
# https://hub.docker.com/_/node
FROM node:18

# Create and change to the app directory.
WORKDIR /usr/src/app

# Copy application dependency manifests to the container image.
# A wildcard is used to ensure both package.json AND package-lock.json are copied.
# Copying this separately prevents re-running npm install on every code change.
COPY package*.json ./

# Install production dependencies.
RUN npm install --only=production

# Copy local code to the container image.
COPY . ./

# Wrangler will prompt, and thus hang if you don't specify this
ENV WRANGLER_SEND_METRICS=false
# Run the web service on container startup.
CMD [ "npm", "start" ]
Building and Running the container
Now that we have a Docker file we can build this image with:
docker build . -t myworker:latest
And execute it by running:
docker run -p8787:8787 -t myworker:latest
If all goes well, you should see something like this:
Starting inspector on 0.0.0.0:9229 failed: address already in use
[mf:inf] Worker reloaded! (432B)
[mf:inf] Listening on 0.0.0.0:8787
[mf:inf] - http://127.0.0.1:8787
[mf:inf] - http://172.17.0.2:8787
[mf:inf] Updated `Request.cf` object cache!
GET / 200 OK (8.13ms)
GET /favicon.ico 200 OK (2.13ms)
Some errors you might run into:
Unlike what the documentation states, Wrangler needs to be specifically run in local mode (which we set in package.json ).
Profit
You can now browse to localhost:8787 and enjoy your Cloudflare Worker locally! YAY!

Thijs is an entrepreneur and software developer who started building websites at age 9.
With over 15 years in tech and a decade in content delivery, he focuses on product development, architecture, and security.
He believes technology should feel intuitive, not complicated, and builds scalable, human-centered solutions that make a real impact.
Outside of work, he enjoys reading everything from business strategy to science fiction.